Earn CASH by selling photo calendars to your Facebook Fans!
If you have a Facebook fan page, you can easily make some extra money by selling a photo calendar to your audience. The process is very easy to setup and we handle all of the work from collecting the money, printing the product, and shipping. The only thing you need to do is create the actual calendar and list it for sale on your Facebook page.
Go to our website and create a new account or sign-in if you have an existing account.
Now click the "New" tab and select photo calendar. It will now walk you through the wizard to setup your calendar.
Choose your calendar name (this will also be the name it's sold under) and choose your starting Month and year.
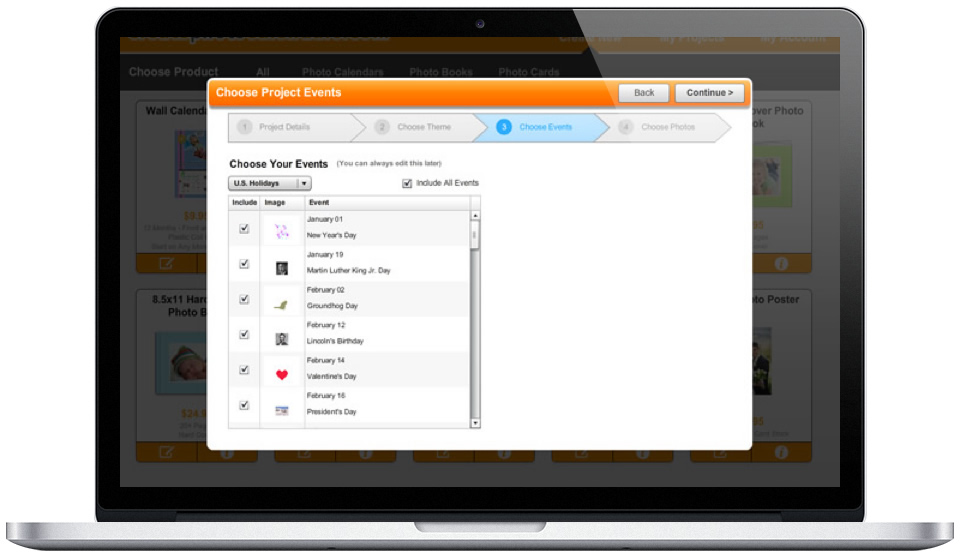
Step 2) Choose events for your calendar
We include all U.S. Holidays and Moon Phases making it easy to check on and off which events you want included.
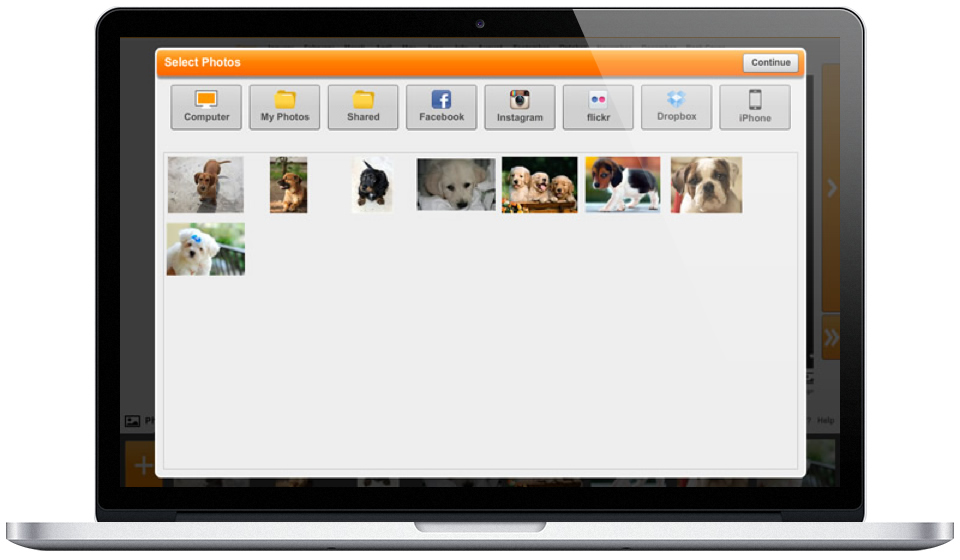
Step 3) Get photos from a variety of different sources
You can also get photos from other people.
Simply email them your unique upload link or post it on your Facebook page.
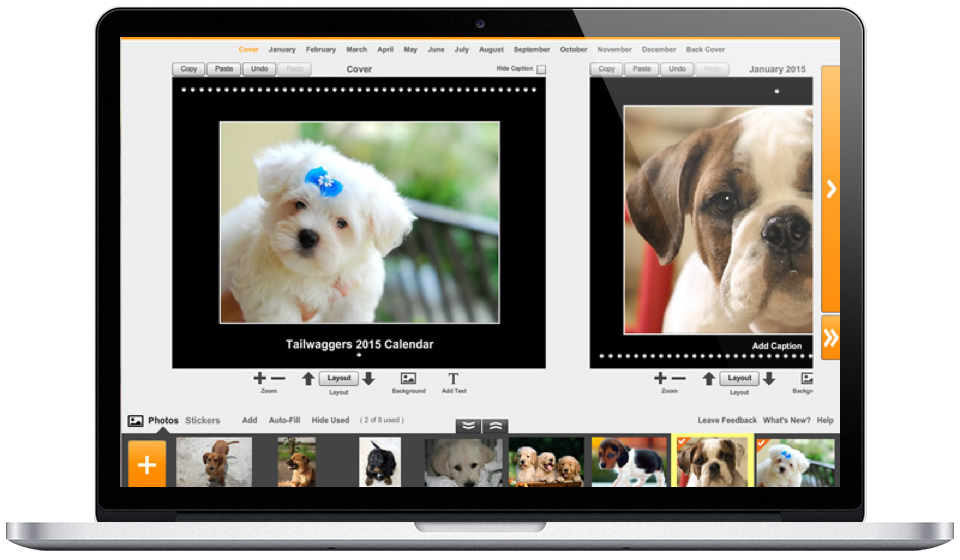
Step 4) Design your photo calendar.
Drag and drop your photos, add events, choose stickers, choose backgrounds, and more. We give you many options to customize your calendar.
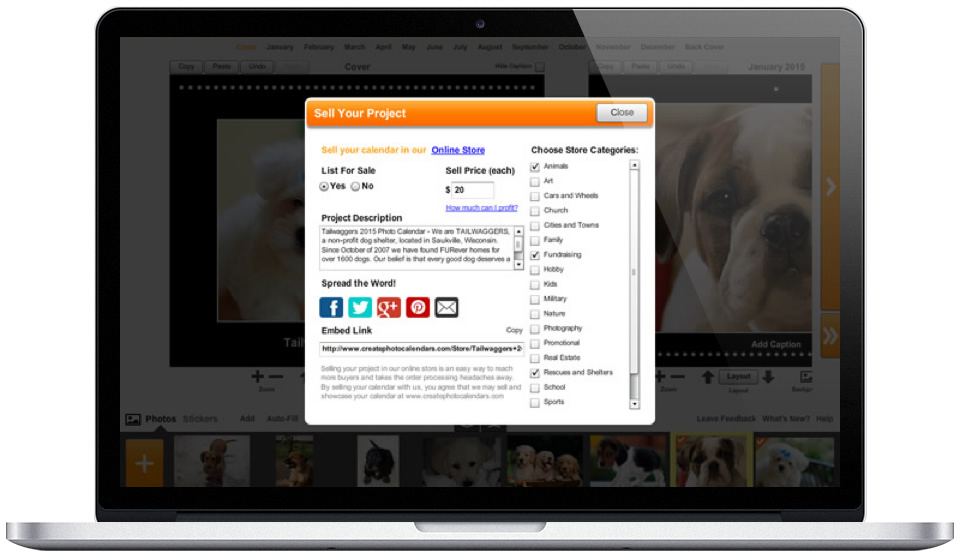
Step 5) When you're finished designing, fill-out the selling details.
Add a project description, choose your selling price, and select which categories to be listed in.
Profit checks are mailed the first of each Month when your balance reaches $5. All balances are paid in full at years end.
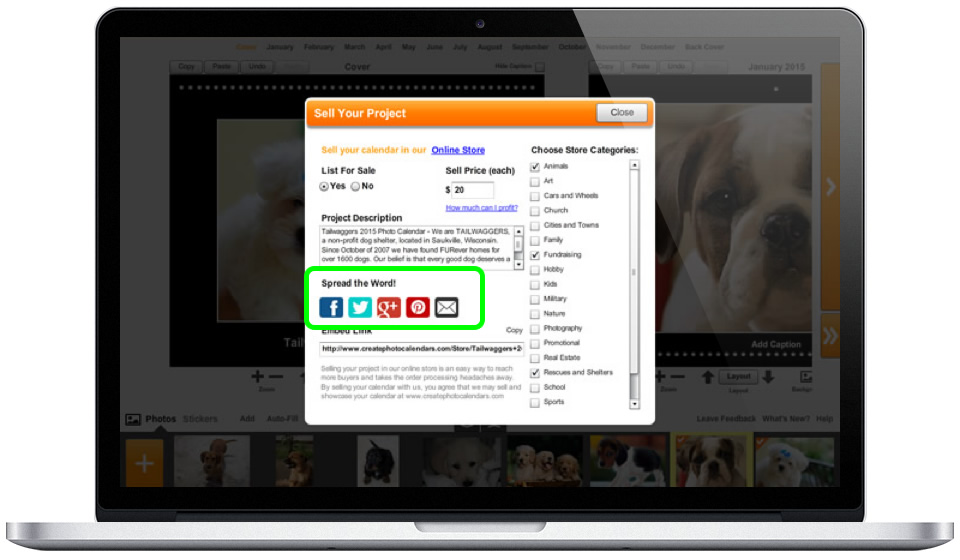
Spread the word about your awesome calendar for sale
Email it to friends & family, post it to your Facebook timeline or Facebook page, pin it on Pinterest, and more.
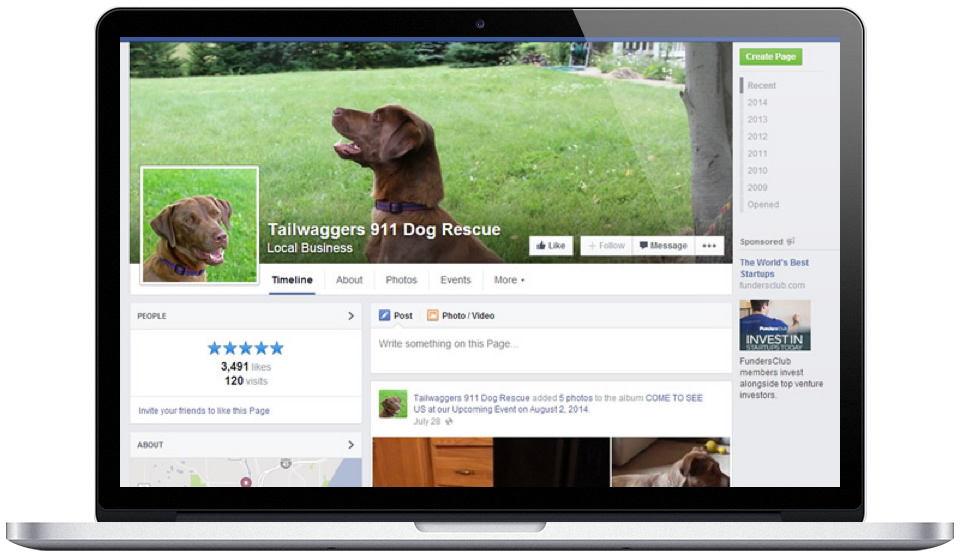
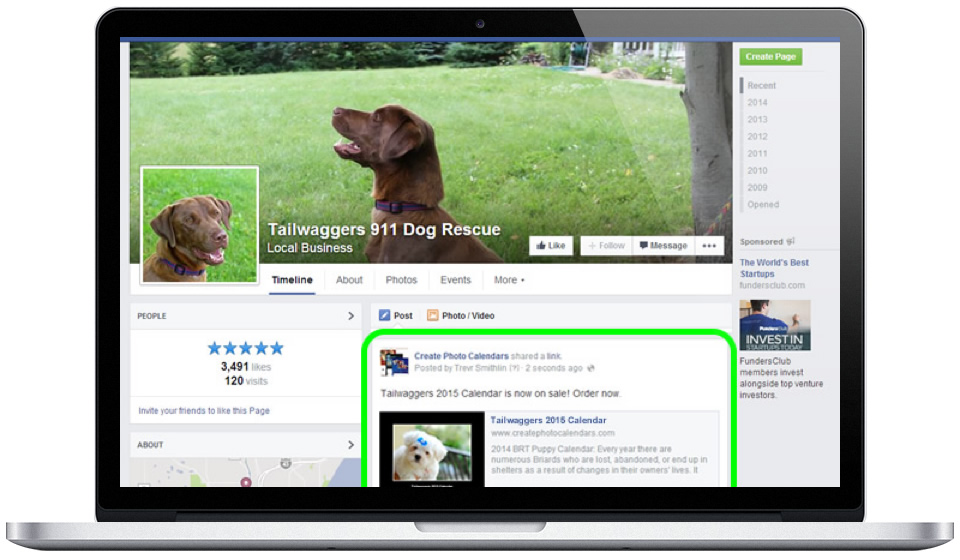
Post your calendar on your Facebook Page..
Now that you created your calendar, it's time to showcase it to your Facebook Followers. Login to your Facebook account and post your calendar on your Facebook page.
You can copy and paste the link from the store listing and paste this right into Facebook and Facebook will create an automatic listing for the post.
PRO TIP - Boost your post - this will show your post to more people and potentially land more sales!
PRO Tip - Generate more sales by creating a Facebook Ad
Step 1) Click the "Create Ad' Button to get Started Creating your Ad in Facebook
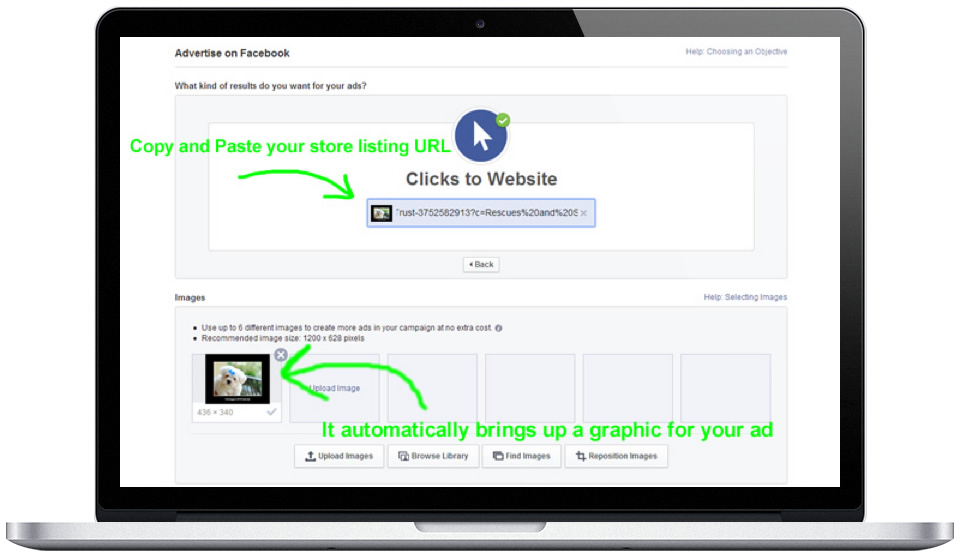
Step 2) Copy and paste your store listing URL
After you copy and paste the web page URL, it auto creates your ad with a ad graphic and text information.
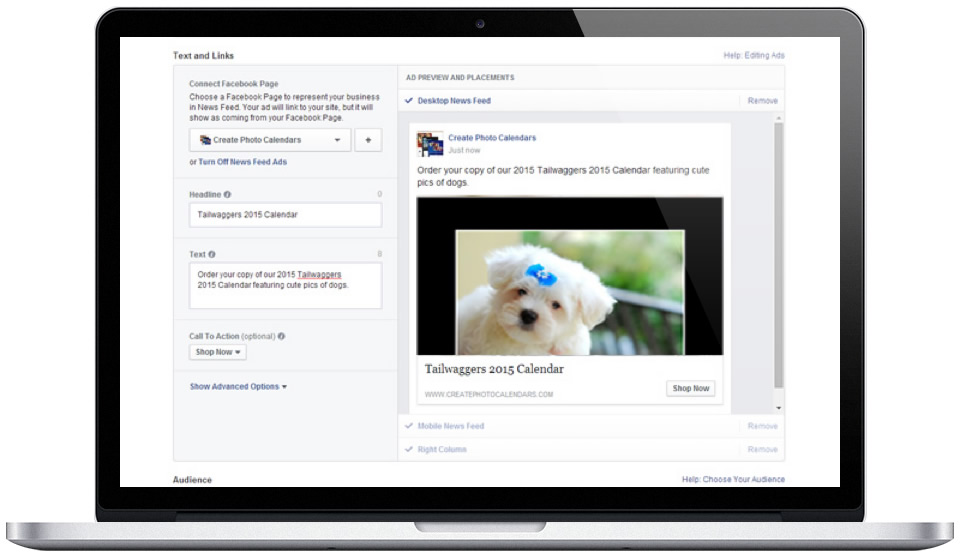
Step 3) Fill-out the ad details - it already comes pre-filled with text from your link!
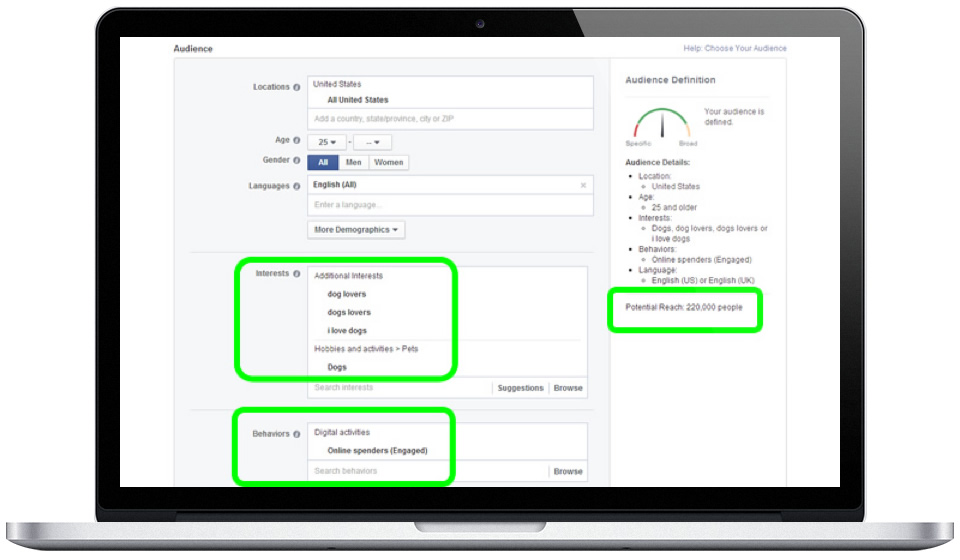
Step 4) Target market your ad to reach the right audience.
Choose a demographic that is right for your project. Here we segmented out people that have an interest in "dogs" and also
who have spent money online within the last Month. This narroThu our potential reach to 220,000 people. You may still think this is a lot
of people, but without these filters it would easily be over 10 million.
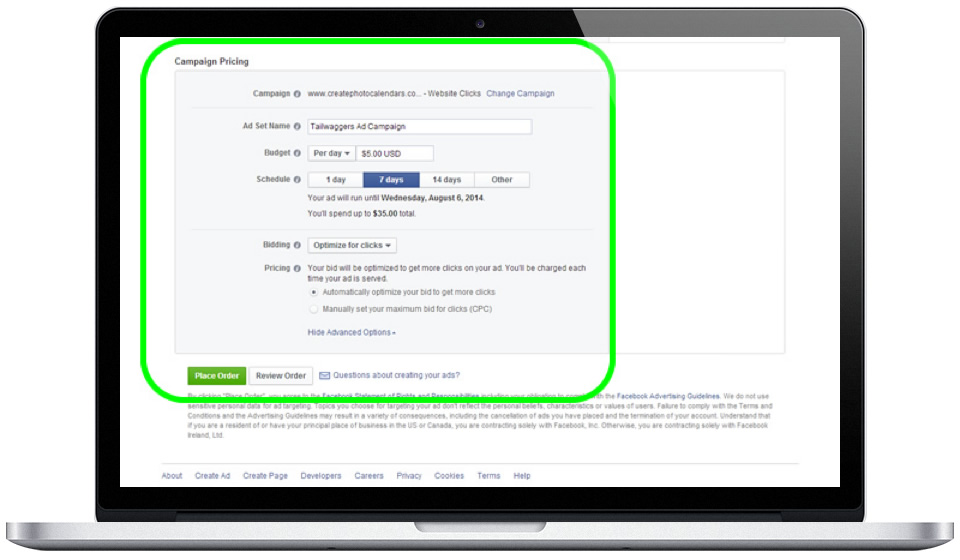
Step 5) Set your budget and submit the ad. You can advertise for just $1 per day.
Set your budget and start your ad. After your ad runs for a few days you will be able to see basic stats such as how many people have clicked on your ad, etc.
After your campaign is over, you can see how many sales it generated by logging into your account and then decide whether to re-run the ad again.